Match the branding decision to the bag
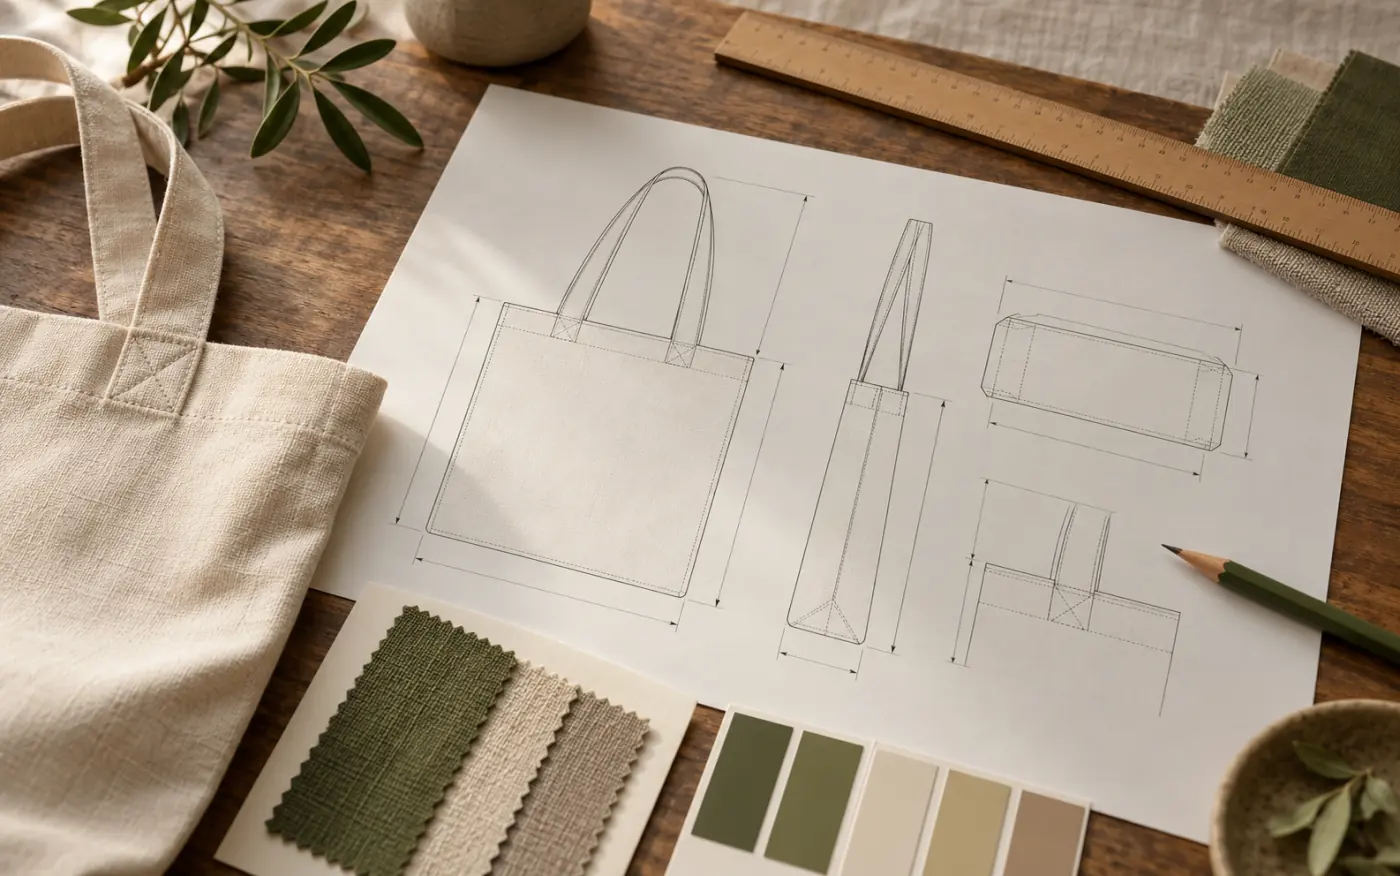
Planning custom logo bags begins with the relationship between artwork, material and construction. Decide whether the brand should be immediately visible, quietly integrated or concentrated on a removable retail element. Mark the location on a drawing and consider how it looks when the bag is carried, filled or folded. A logo placed on a flat mockup can disappear into a crease on the finished product. The available decoration area also changes around seams, pockets and curved panels, so involve the construction review before committing to a technique.
Prepare artwork with clear proportions, color references and an intended finished size. Identify fine lines, small text, gradients or closely spaced details that may need adjustment for a physical process. Ask the supplier to show any proposed simplification before making the sample. Different techniques translate artwork differently, and enlarging the logo is not always the best answer. Compare the desired appearance with the customer’s use, the selected surface and how the mark will be attached or applied during assembly. Keep the approved artwork version identifiable throughout development.
Compare embroidery and woven labels
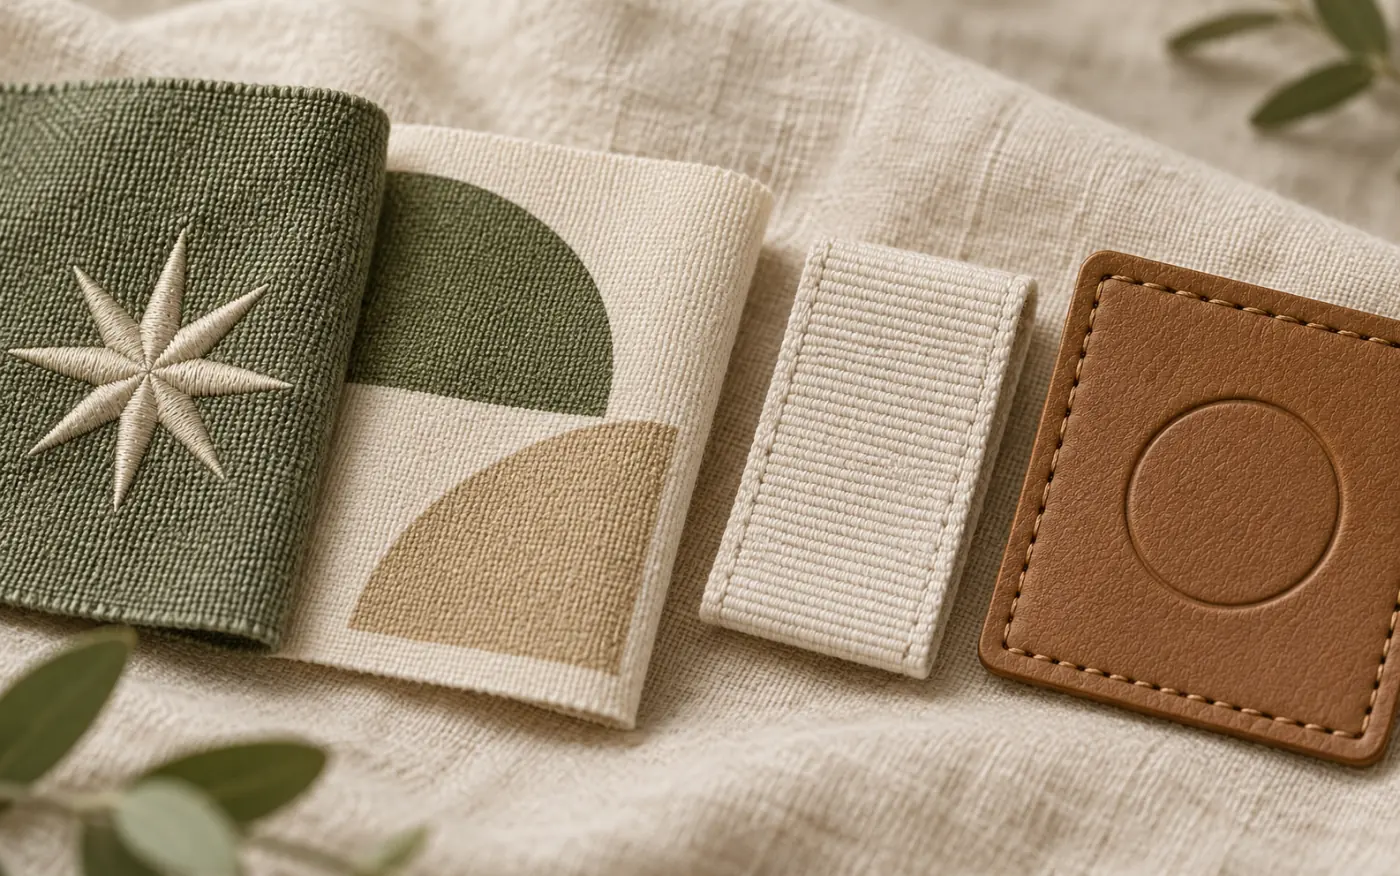
Embroidery builds the design with thread, giving the mark texture and a visible stitched character. It can suit a substantial fabric or a design that benefits from depth, but dense stitching may distort a lightweight panel or make a soft area feel stiff. Fine lettering and tightly packed details need careful review. Ask how the fabric will be supported and what the reverse side will look like inside the bag. Needle penetration also matters when the product has water-resistance requirements, so decoration should be considered within the complete construction.
Woven labels carry the design on a separate textile component that is then attached to the bag. They can provide a consistent branding element across materials, though the weave and label size still limit fine detail. Decide whether the label is flat, folded into a seam or attached along selected edges. Review fold positions, visible artwork, edge finish and whether the label touches the user or contents. Compare thread colors on a physical label; a digital artwork color does not establish how woven yarns will look against the body fabric.
Choose between screen print and heat transfer
Screen printing applies ink through prepared screens and is often considered for clear graphics or defined areas of color. The result depends on the ink system, fabric texture, finish and application process. A coarse weave may interrupt fine lines, while a coating can affect how the ink adheres. Ask to see the intended artwork on the selected material rather than approving the method from an unrelated bag. Review coverage, edge definition, surface feel and alignment, especially where the logo must sit squarely against a pocket or finished panel edge.
Heat transfer applies a prepared graphic using heat and pressure, with the exact process depending on the transfer system. It can be useful for detailed artwork, but compatibility must be checked with the fabric, coating and dyes. Heat can alter some surfaces, and the finished graphic may feel different from the surrounding material. Discuss possible press marks, color changes, edge adhesion and the intended care conditions. Neither a screen print nor a transfer should be described as permanently durable without suitable evidence for the actual combination of material and application.
Use patches and debossing with material awareness
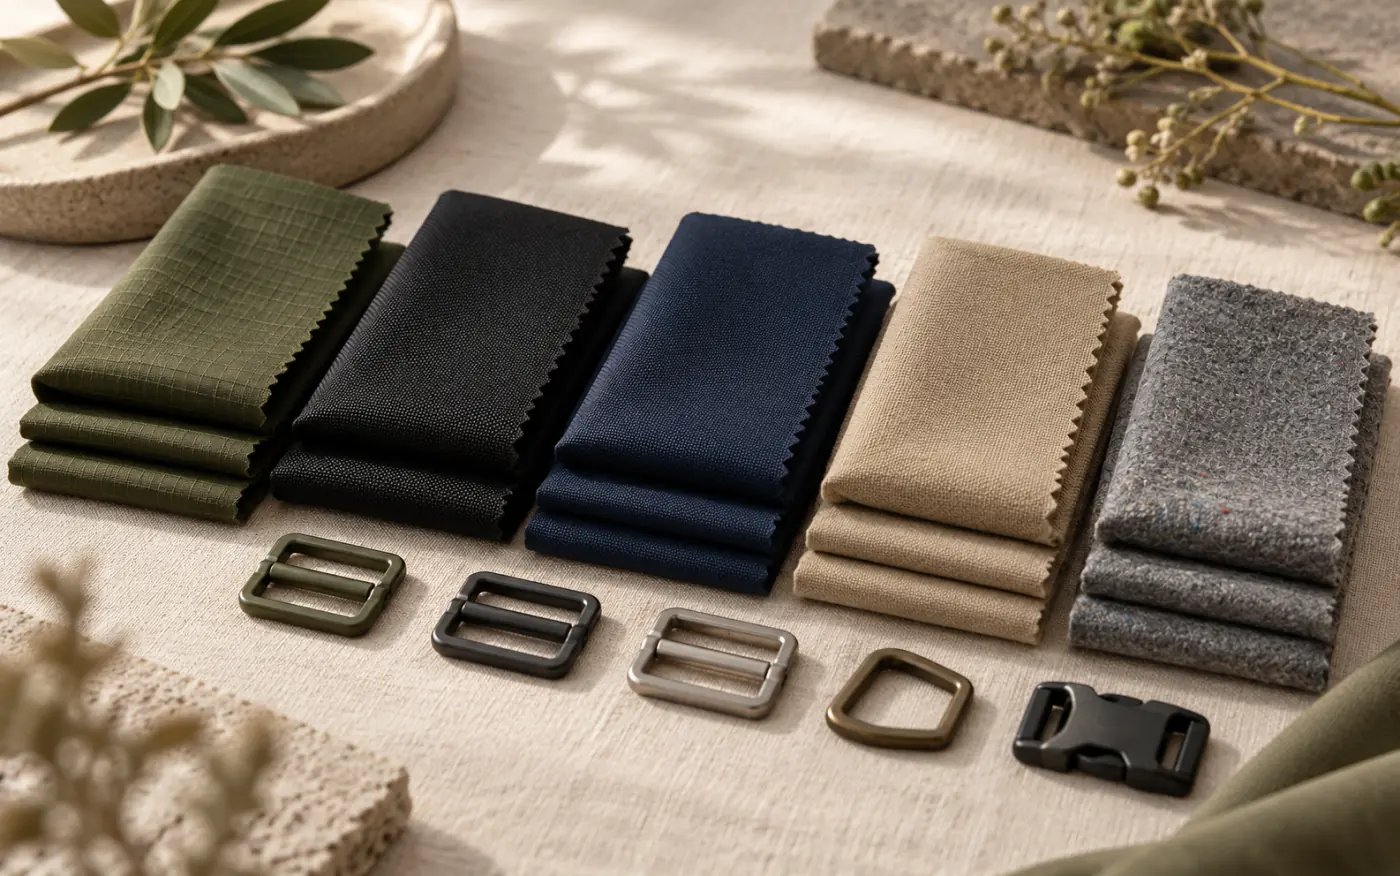
Patches create a separate branding surface, which may be textile, leather-like or another suitable material. This can help preserve a distinct shape or texture across a collection, but the patch adds its own thickness, edges and attachment requirements. Decide whether it will be stitched, bonded or fixed by another method and review the back of the attachment area. A patch can stiffen a soft panel or catch at an exposed edge. Its material, color and outline should be evaluated alongside the body fabric rather than selected in isolation.
Debossing presses a design into a suitable surface to create a recessed mark. It can offer a restrained appearance on materials that accept the process, but not every textile, coated surface or leather-like material will produce a clear, stable impression. Ask which material is proposed and review edge definition, depth and any effect on the surrounding finish. Small text may become difficult to read when the mark relies on shadow instead of contrasting color. Approve a physical impression on the selected material before treating a digital rendering as achievable.
Assess metal badges and construction trade-offs
Metal badges add a rigid element with a particular finish and tactile character. They can suit a structured presentation, but their weight, edges and attachment need attention on softer bags. Discuss how the badge is secured, whether backing is required and how the inside fastening is covered. Inspect the interaction with lining and contents, especially where a device or delicate item may touch the reverse side. Ask about the proposed finish and any buyer-required evaluation rather than assuming a color description establishes resistance to wear or corrosion.
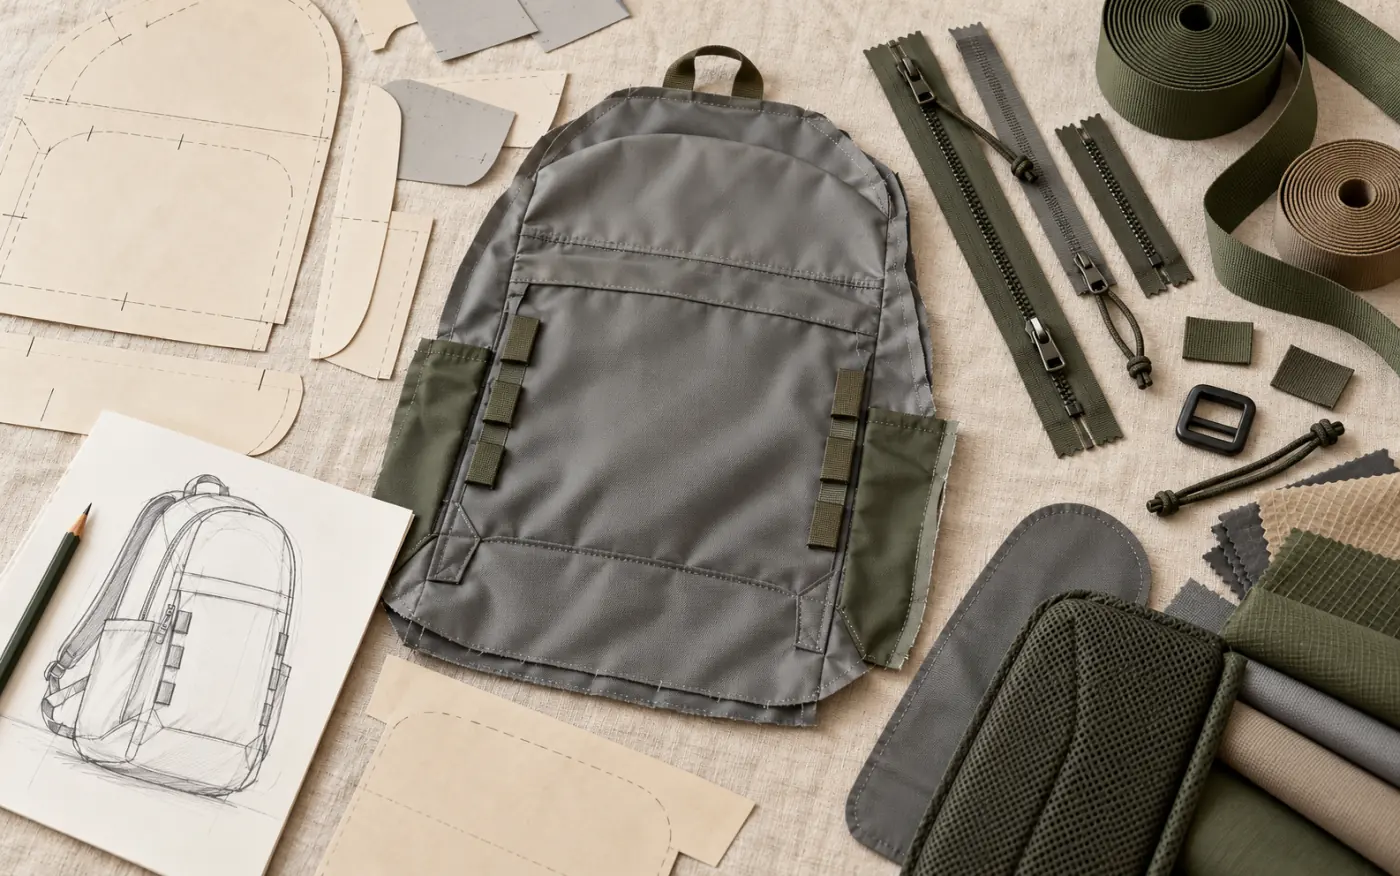
Compare methods in the context of the whole product. A canvas tote with a broad flat panel may invite a different treatment from a coated backpack with seams near the logo position. A woven label can move into a seam, while a badge needs an attachment area and embroidery needs access for stitching. These choices affect when decoration happens in production and how errors can be corrected. Review the practical assembly route with the production partner before selecting a treatment purely because it looks attractive on a separate display sample.
Approve the physical result and record the details
Request a decoration sample using the intended material, artwork and method, then review it on an assembled bag where placement matters. Check readability, color, position, orientation, texture and the reverse side of attachments. Record any conditions used for handling or care review and agree what additional testing the buyer needs. A visual approval does not establish wash, abrasion or chemical performance. Ask your buyer which standards or tests apply, including chemical or labeling requirements, and define the relevant scope before making product claims.
Keep the approved artwork, material reference, decoration instructions and sample decision together. Include packaging protection if a badge, patch or printed surface could mark adjacent products during handling. Confirm how any change to fabric, color or logo size will be reviewed, since an earlier approval may not cover the revised combination. STARDOTS coordinates discussion of branding and packaging options with production partners for the selected bag. The final technique, sample scope and quotation depend on the project, so avoid treating a general list of methods as confirmation that every option suits every material.
Buyer checklist
Bring these points into the first project discussion.
- Provide approved artwork, color references and the intended finished size.
- Mark placement from a stable feature of the finished bag.
- Compare suitable techniques on the actual selected material.
- Inspect backing, attachment edges and contact with lining or contents.
- Approve visibility and orientation on an assembled sample.
- Record the final method and any testing or packing protection required.
Common points to watch
- Approving a process from an unrelated material sample.
- Assuming fine artwork translates unchanged into every technique.
- Ignoring heat, needle holes or attachments when reviewing the construction.
- Treating visual approval as evidence of long-term performance.
Frequently Asked Questions
Which logo method is best for a coated backpack fabric?+
There is no universal choice. Review the coating, artwork, placement and construction, then sample suitable methods on that material. Printing adhesion, heat sensitivity and needle holes may lead to different trade-offs.
Can the same artwork be used for embroidery and printing?+
The source artwork can guide both, but fine lines, small text and shading may need different treatment. Approve any adaptation and compare physical samples rather than assuming the processes will look identical.
Can a metal badge be attached to a soft bag?+
It may be possible with an appropriate attachment and backing arrangement. Review weight, panel distortion, edge contact and the covered reverse side on the assembled sample before approving it.
What should I approve besides the logo color?+
Confirm artwork revision, finished size, placement, orientation, method, material compatibility and attachment finish. Include any agreed performance checks and protection needed during packing.
Ready to discuss your collection?
Tell us what you need and we will help define the next step.
Request a Quote